About
Press
Events
Contact
Dancer & Entertainer
Productions
Workshops
About
Press
Events
Contact
Dancer & Entertainer
Productions
Workshops
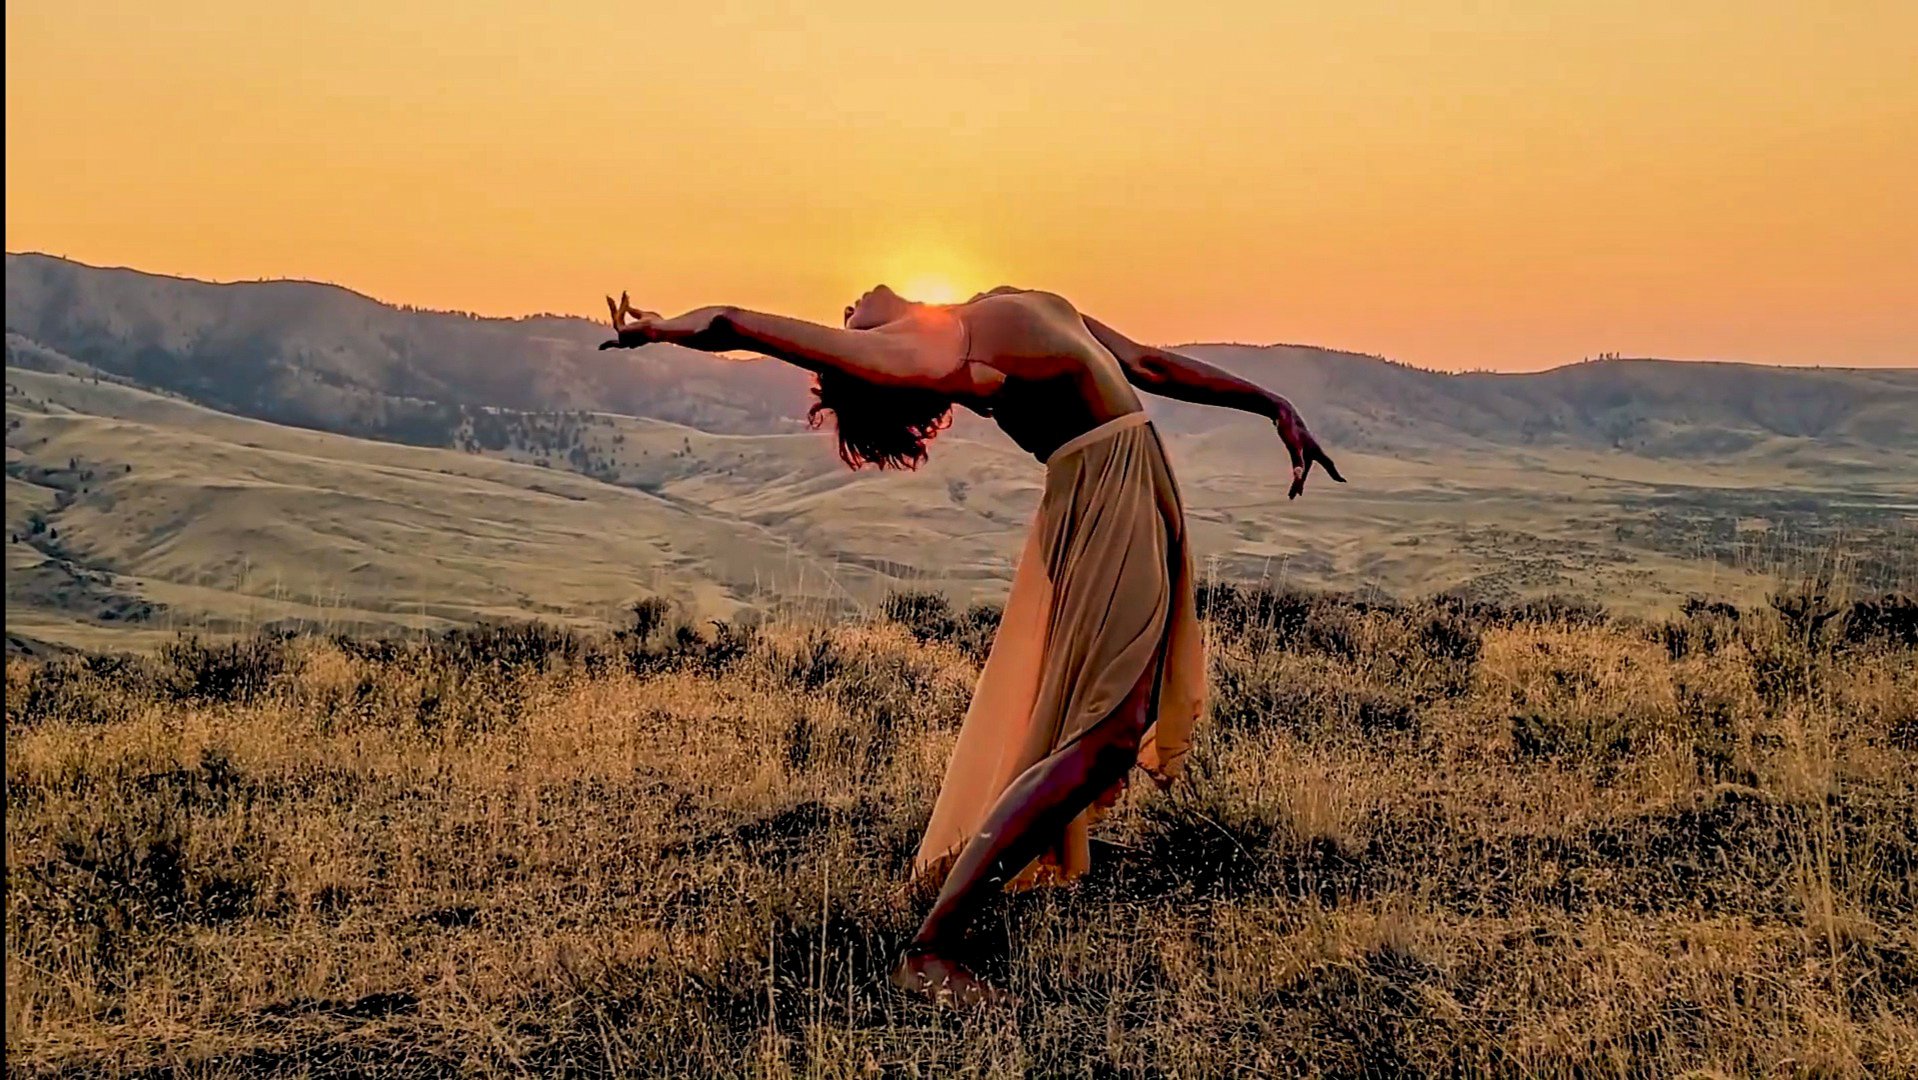
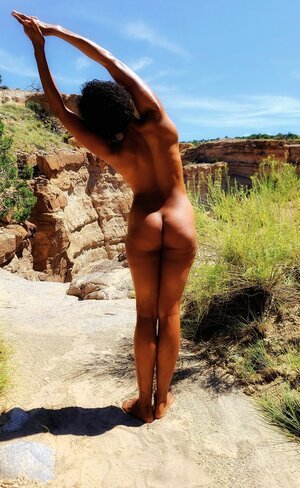
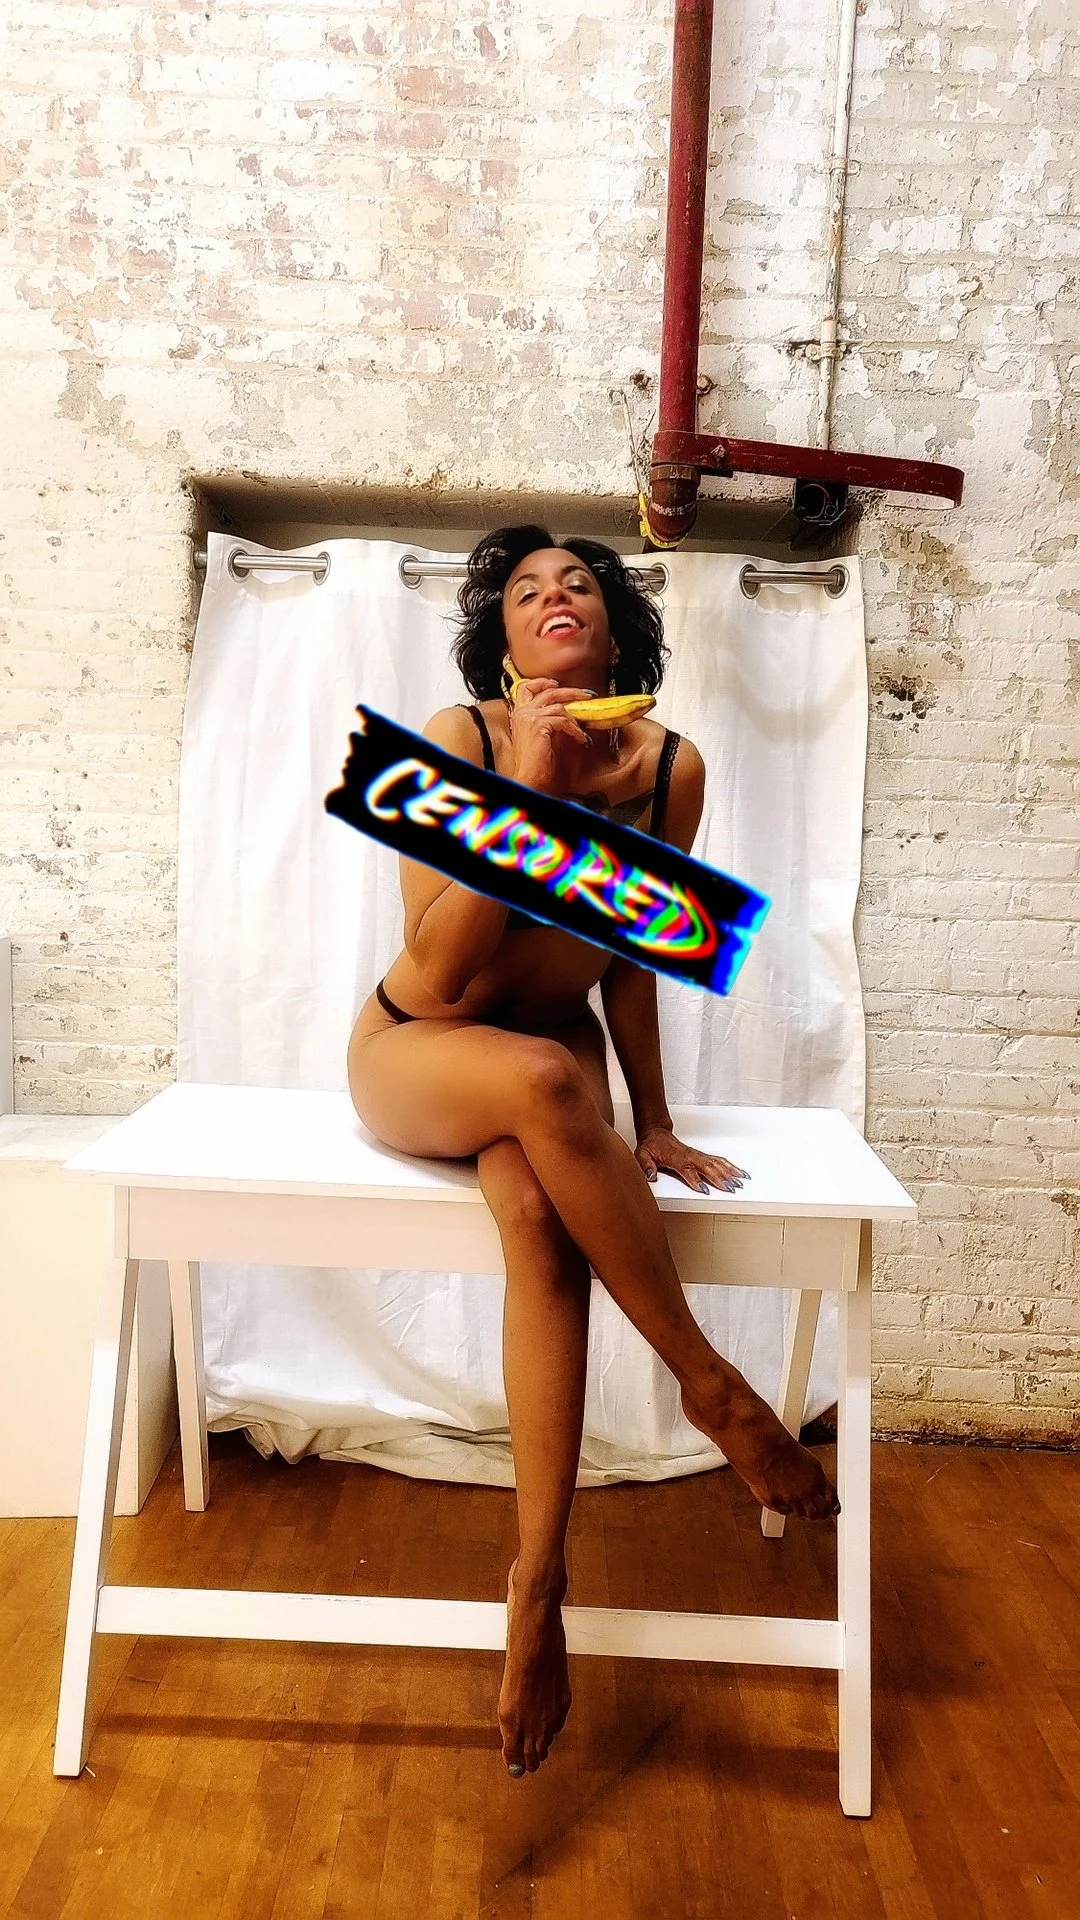
PHOTOS
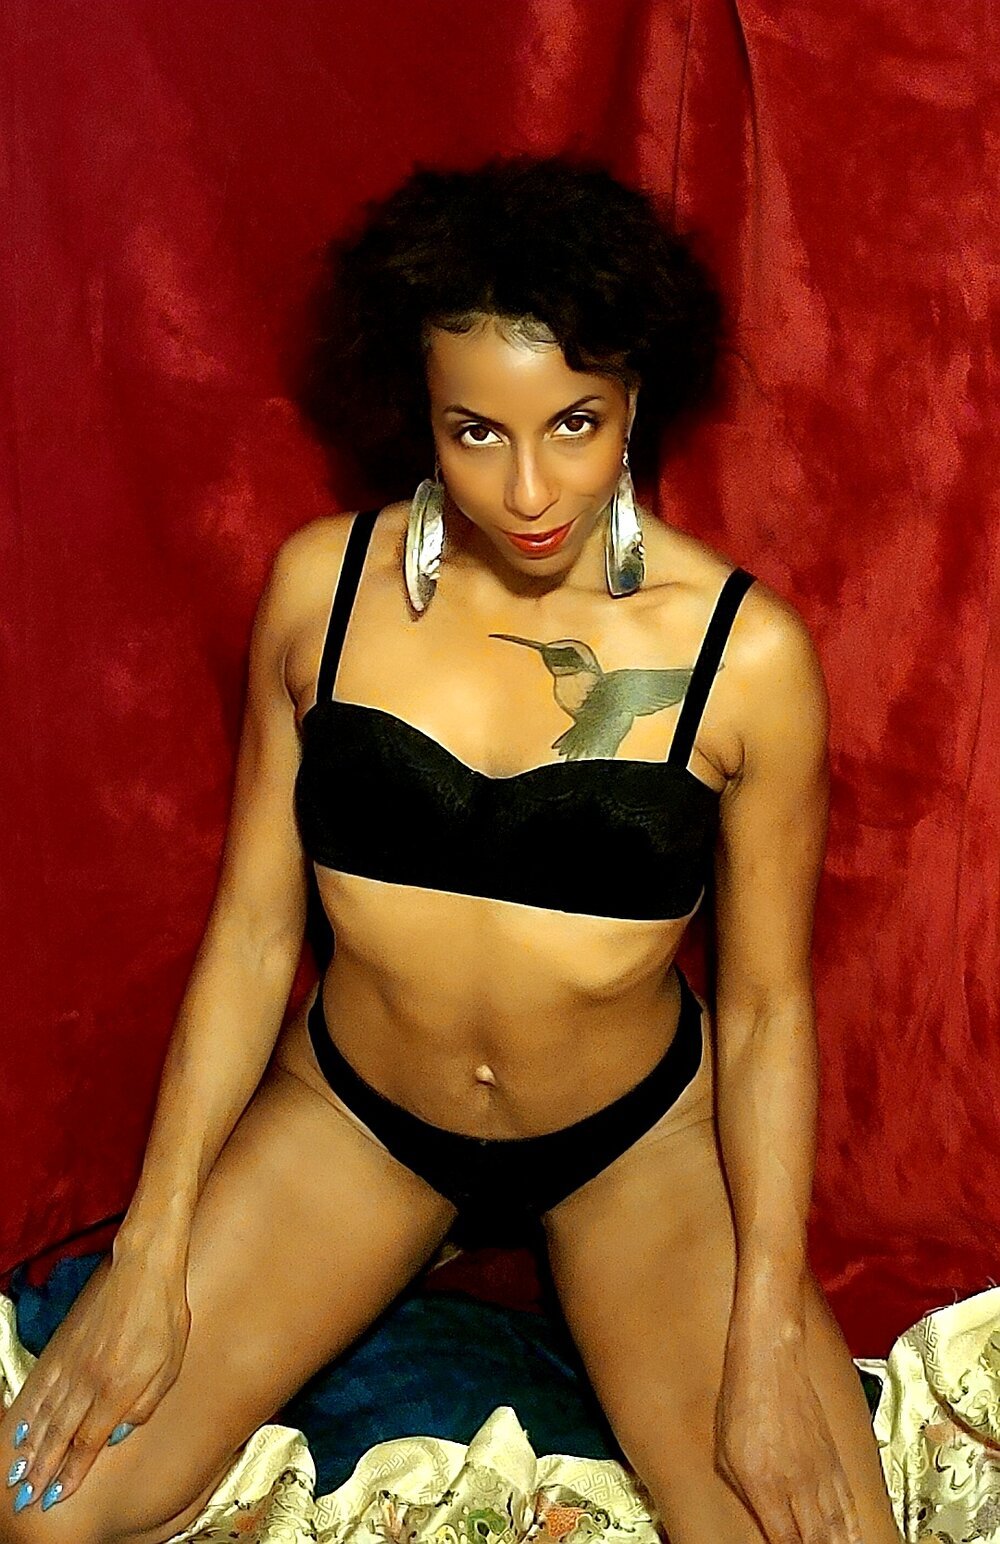
View fullsize
Photo by Jenny Wheat
View fullsize
Photo by Jenny Wheat
View fullsize
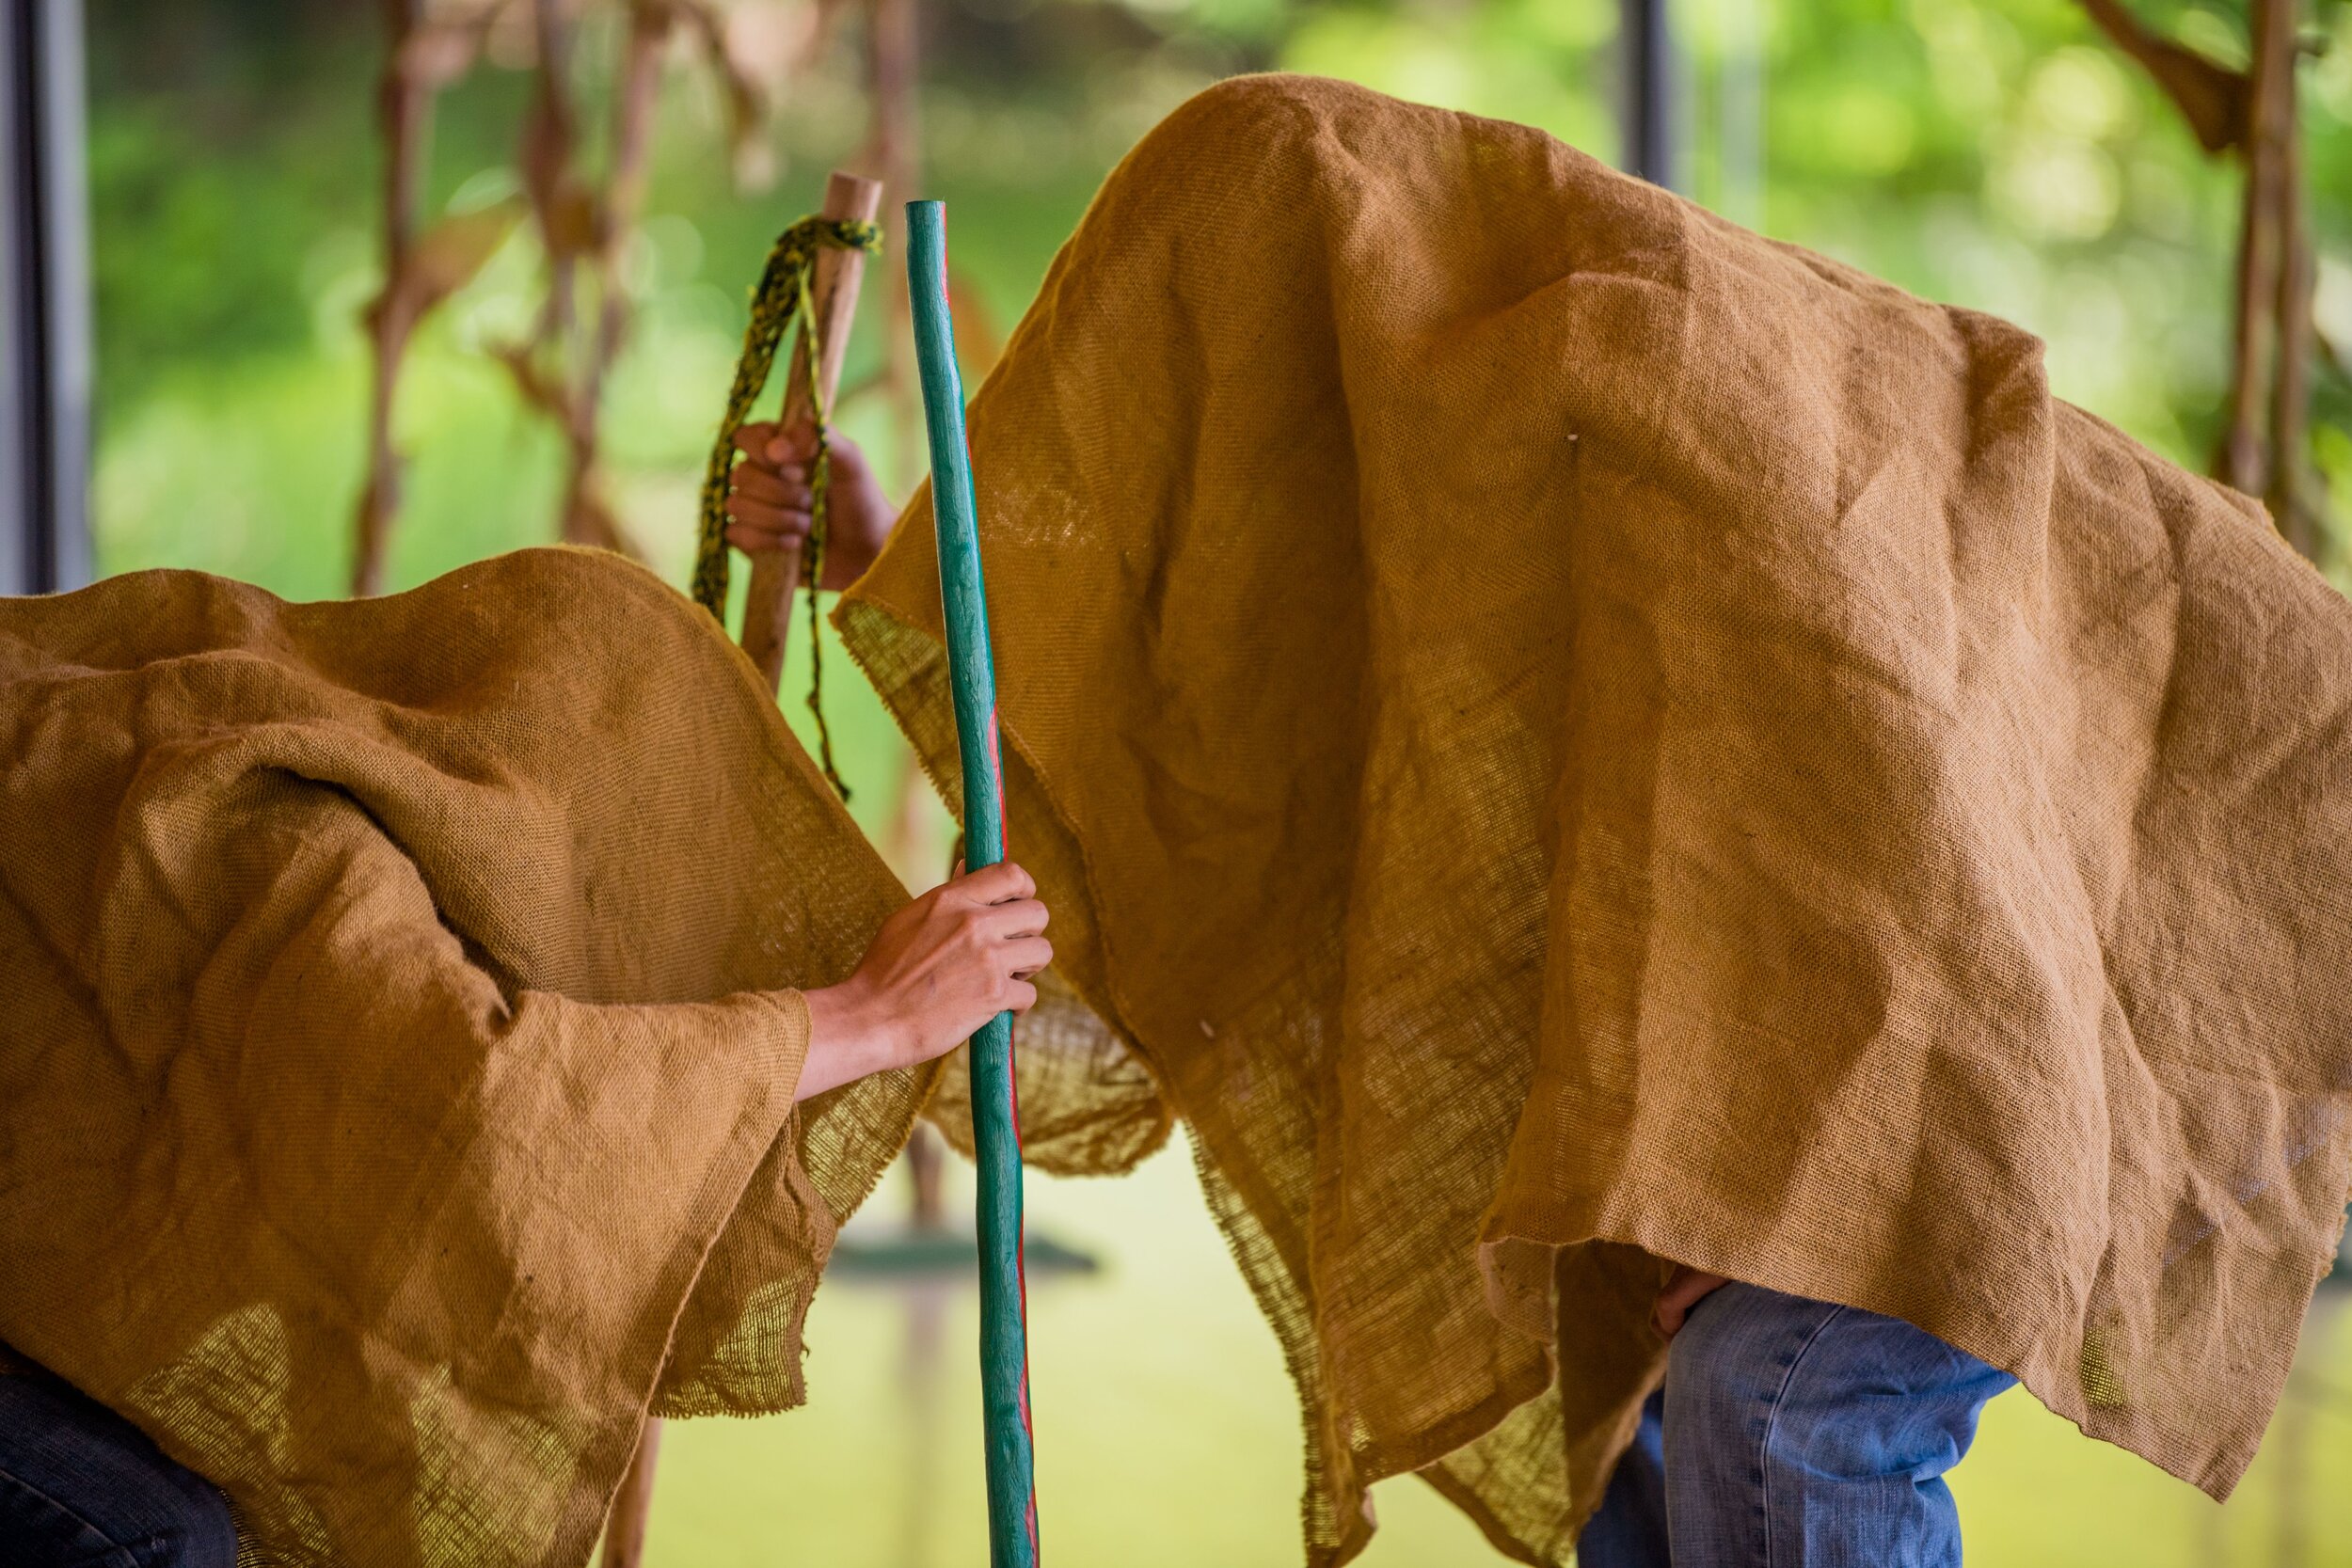
Photo by Maura García
View fullsize
Photo by Jenny Wheat
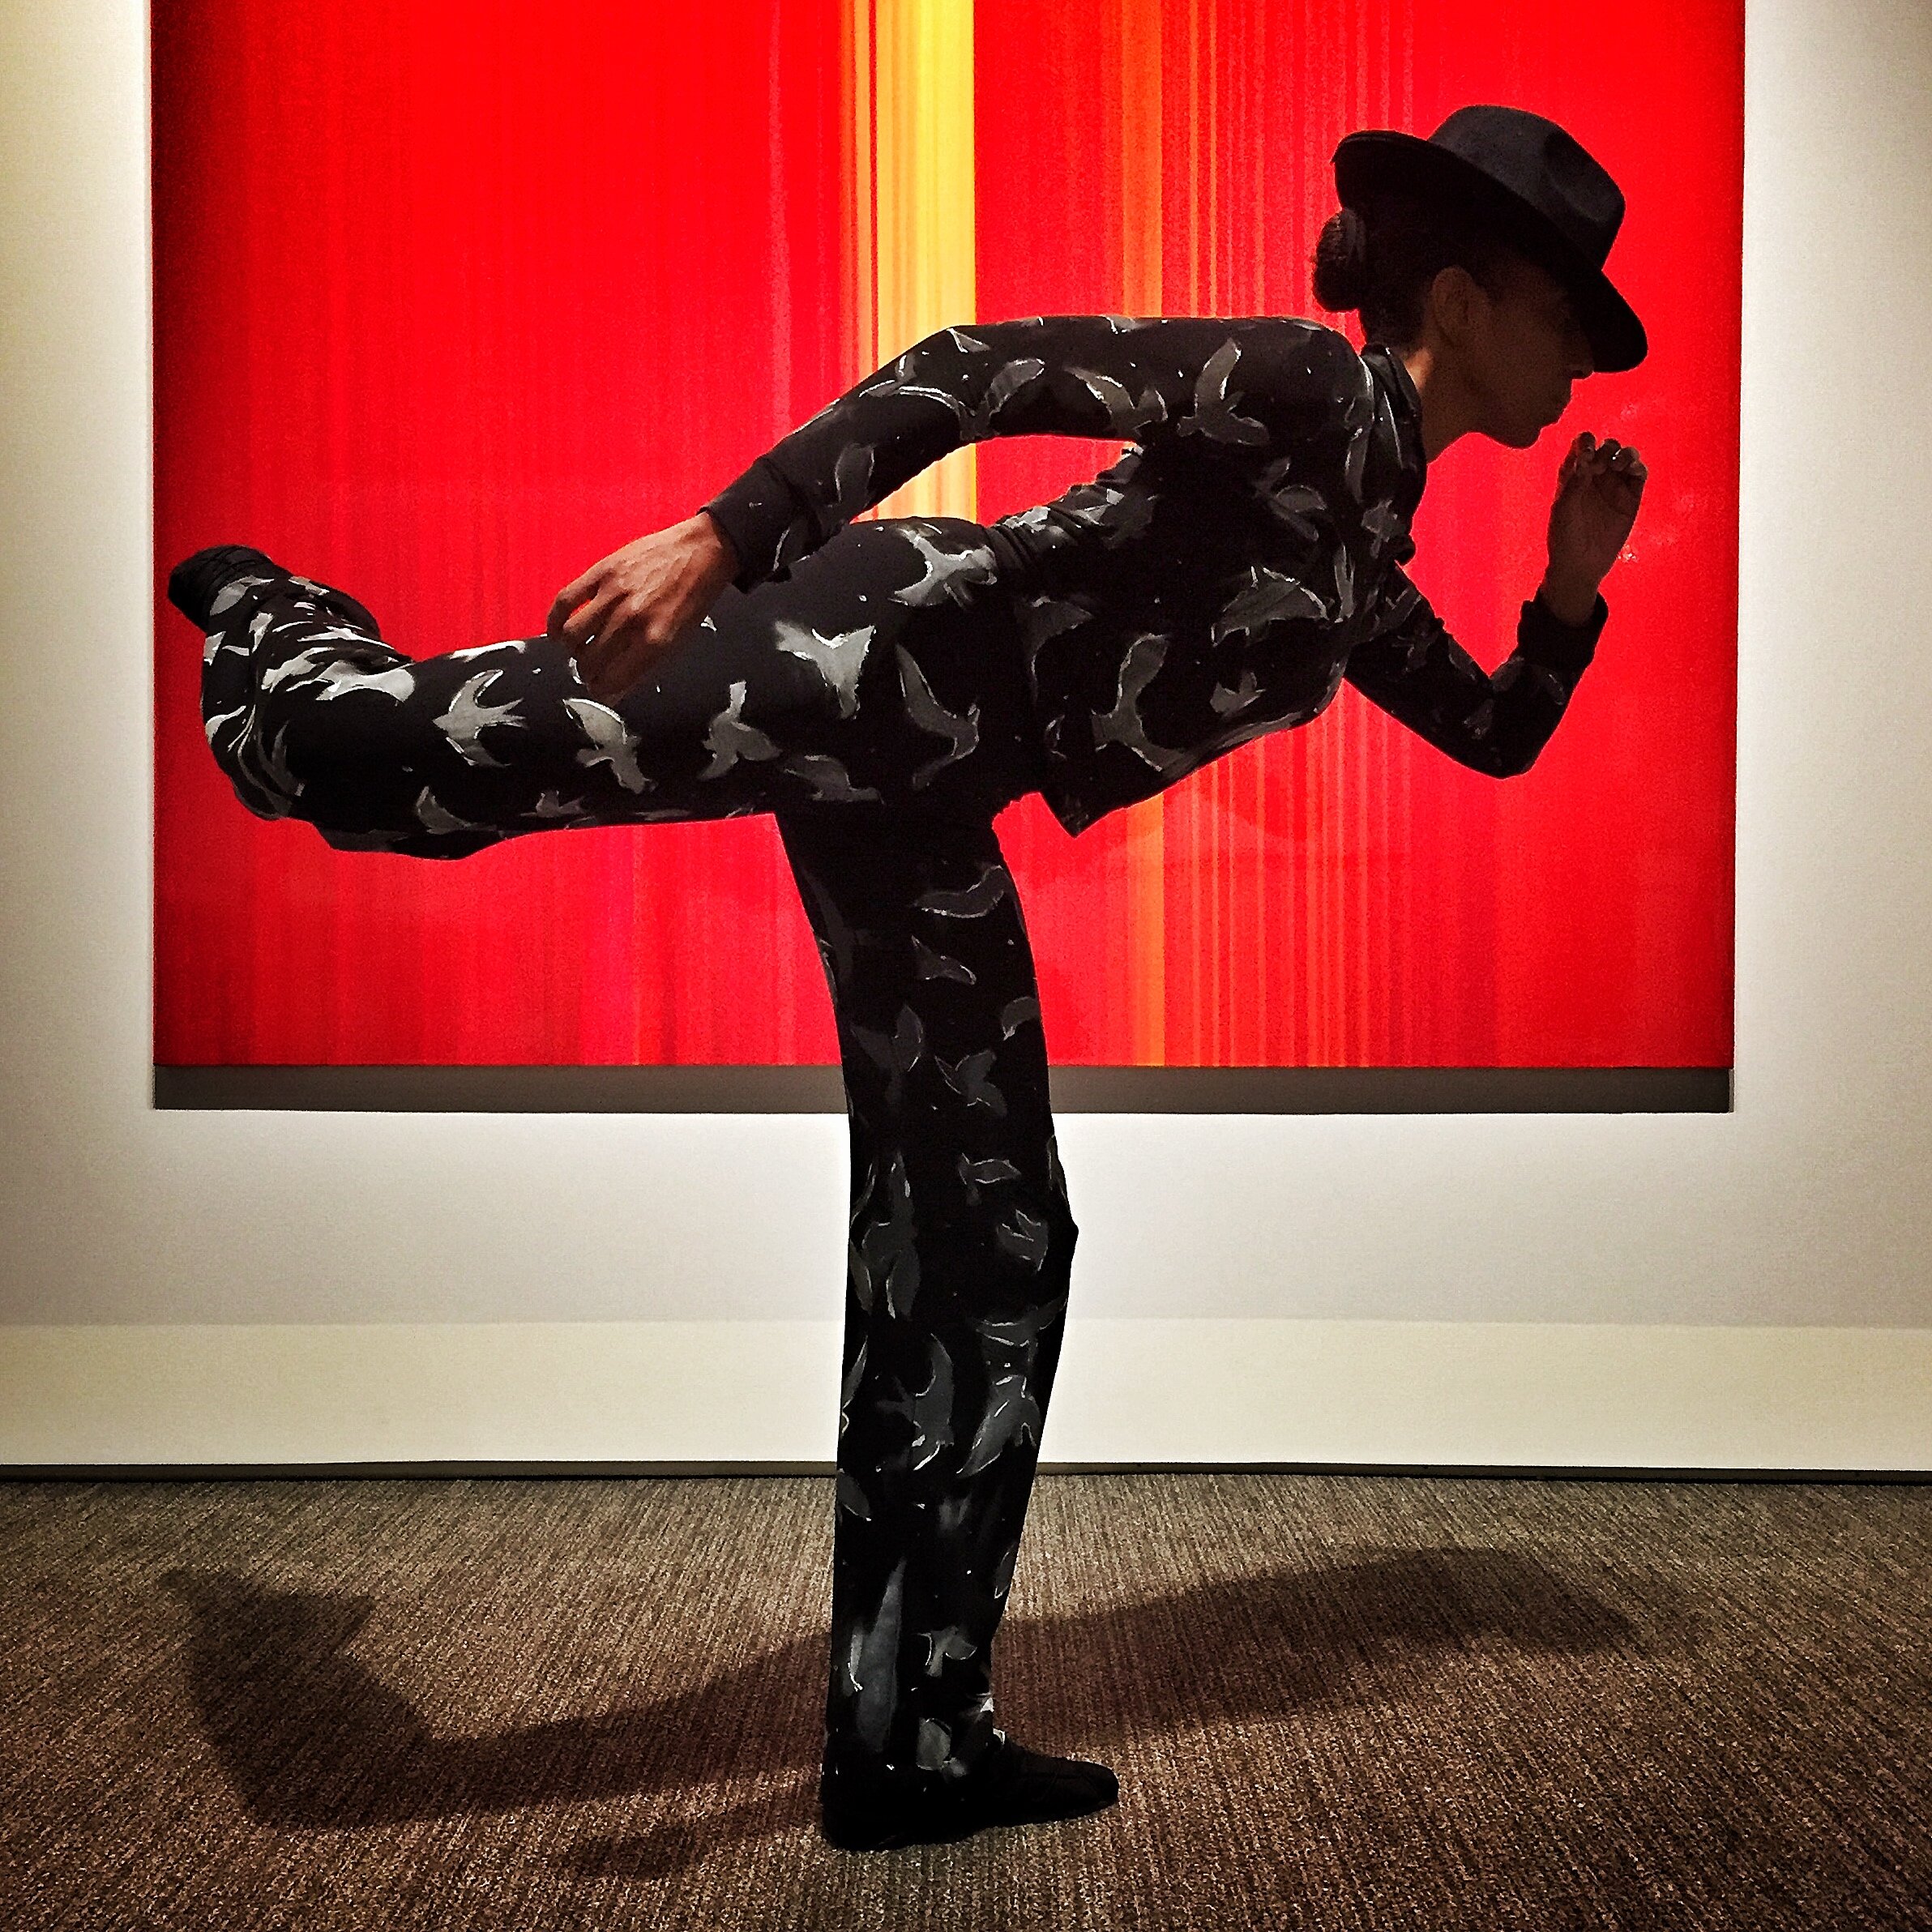
View fullsize
Photo by Chris Randall
View fullsize
Photo by Michael Galinsky
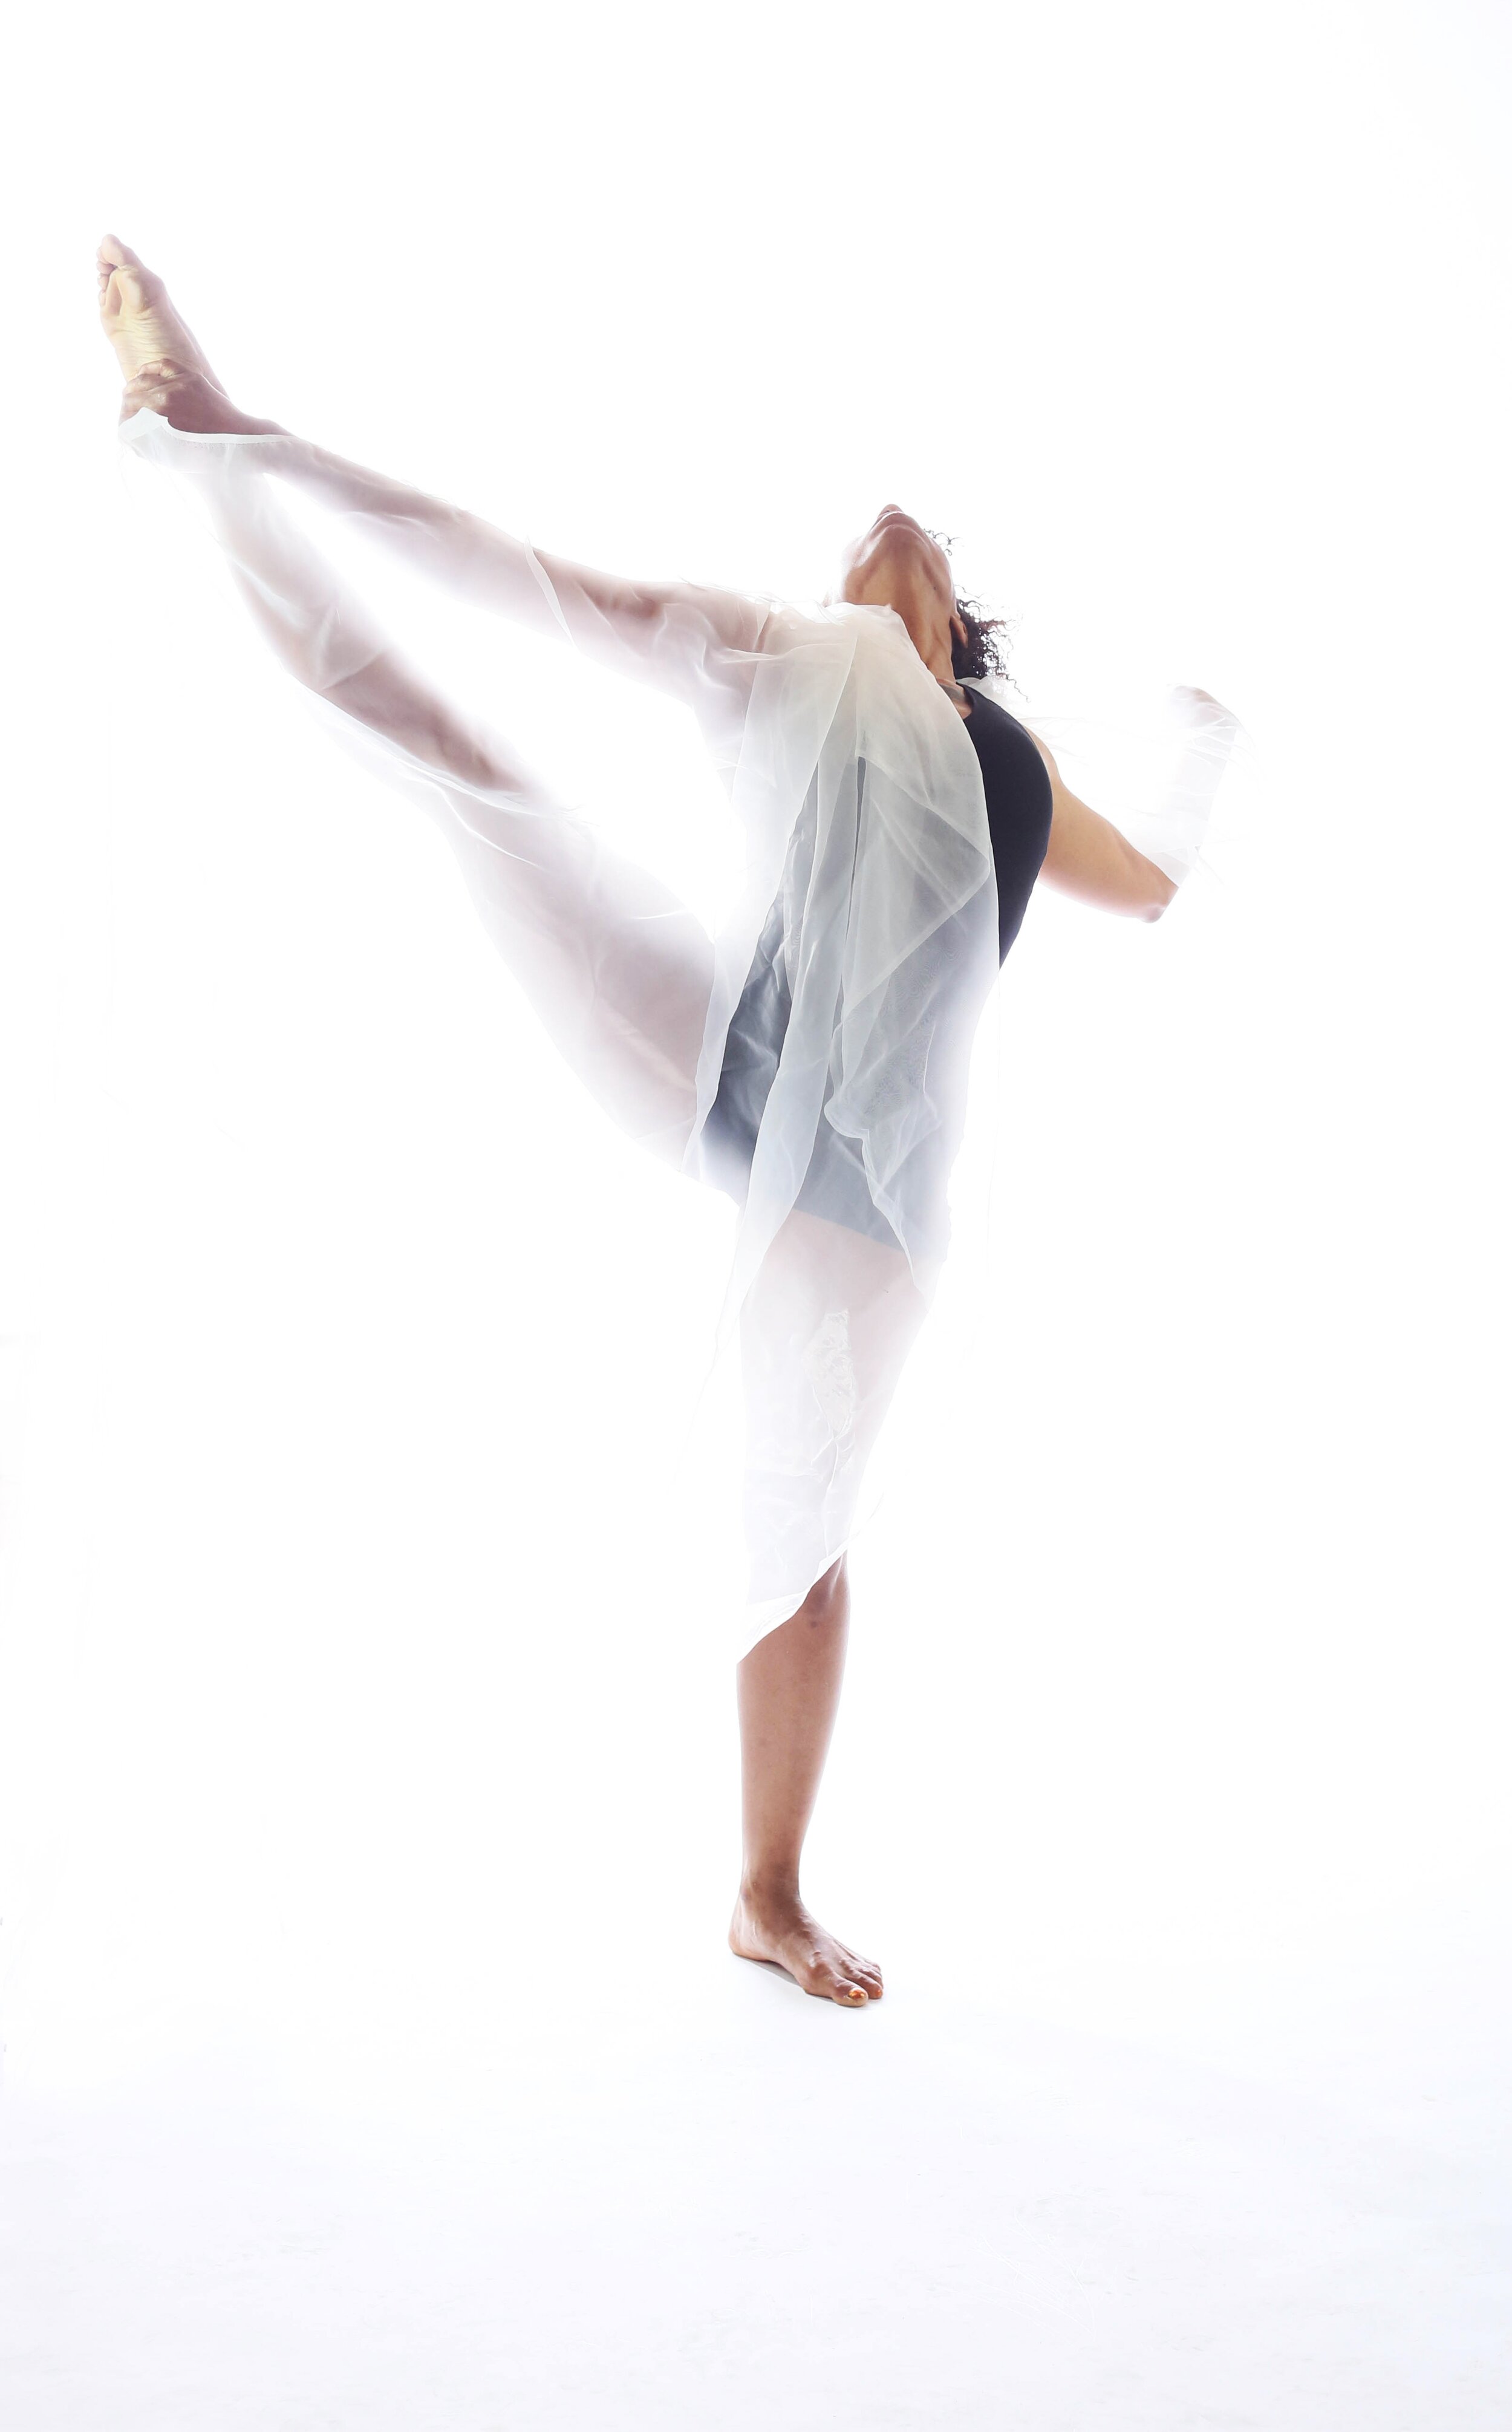
View fullsize
Photo by Lydia See
View fullsize
Photo by Jenny Wheat
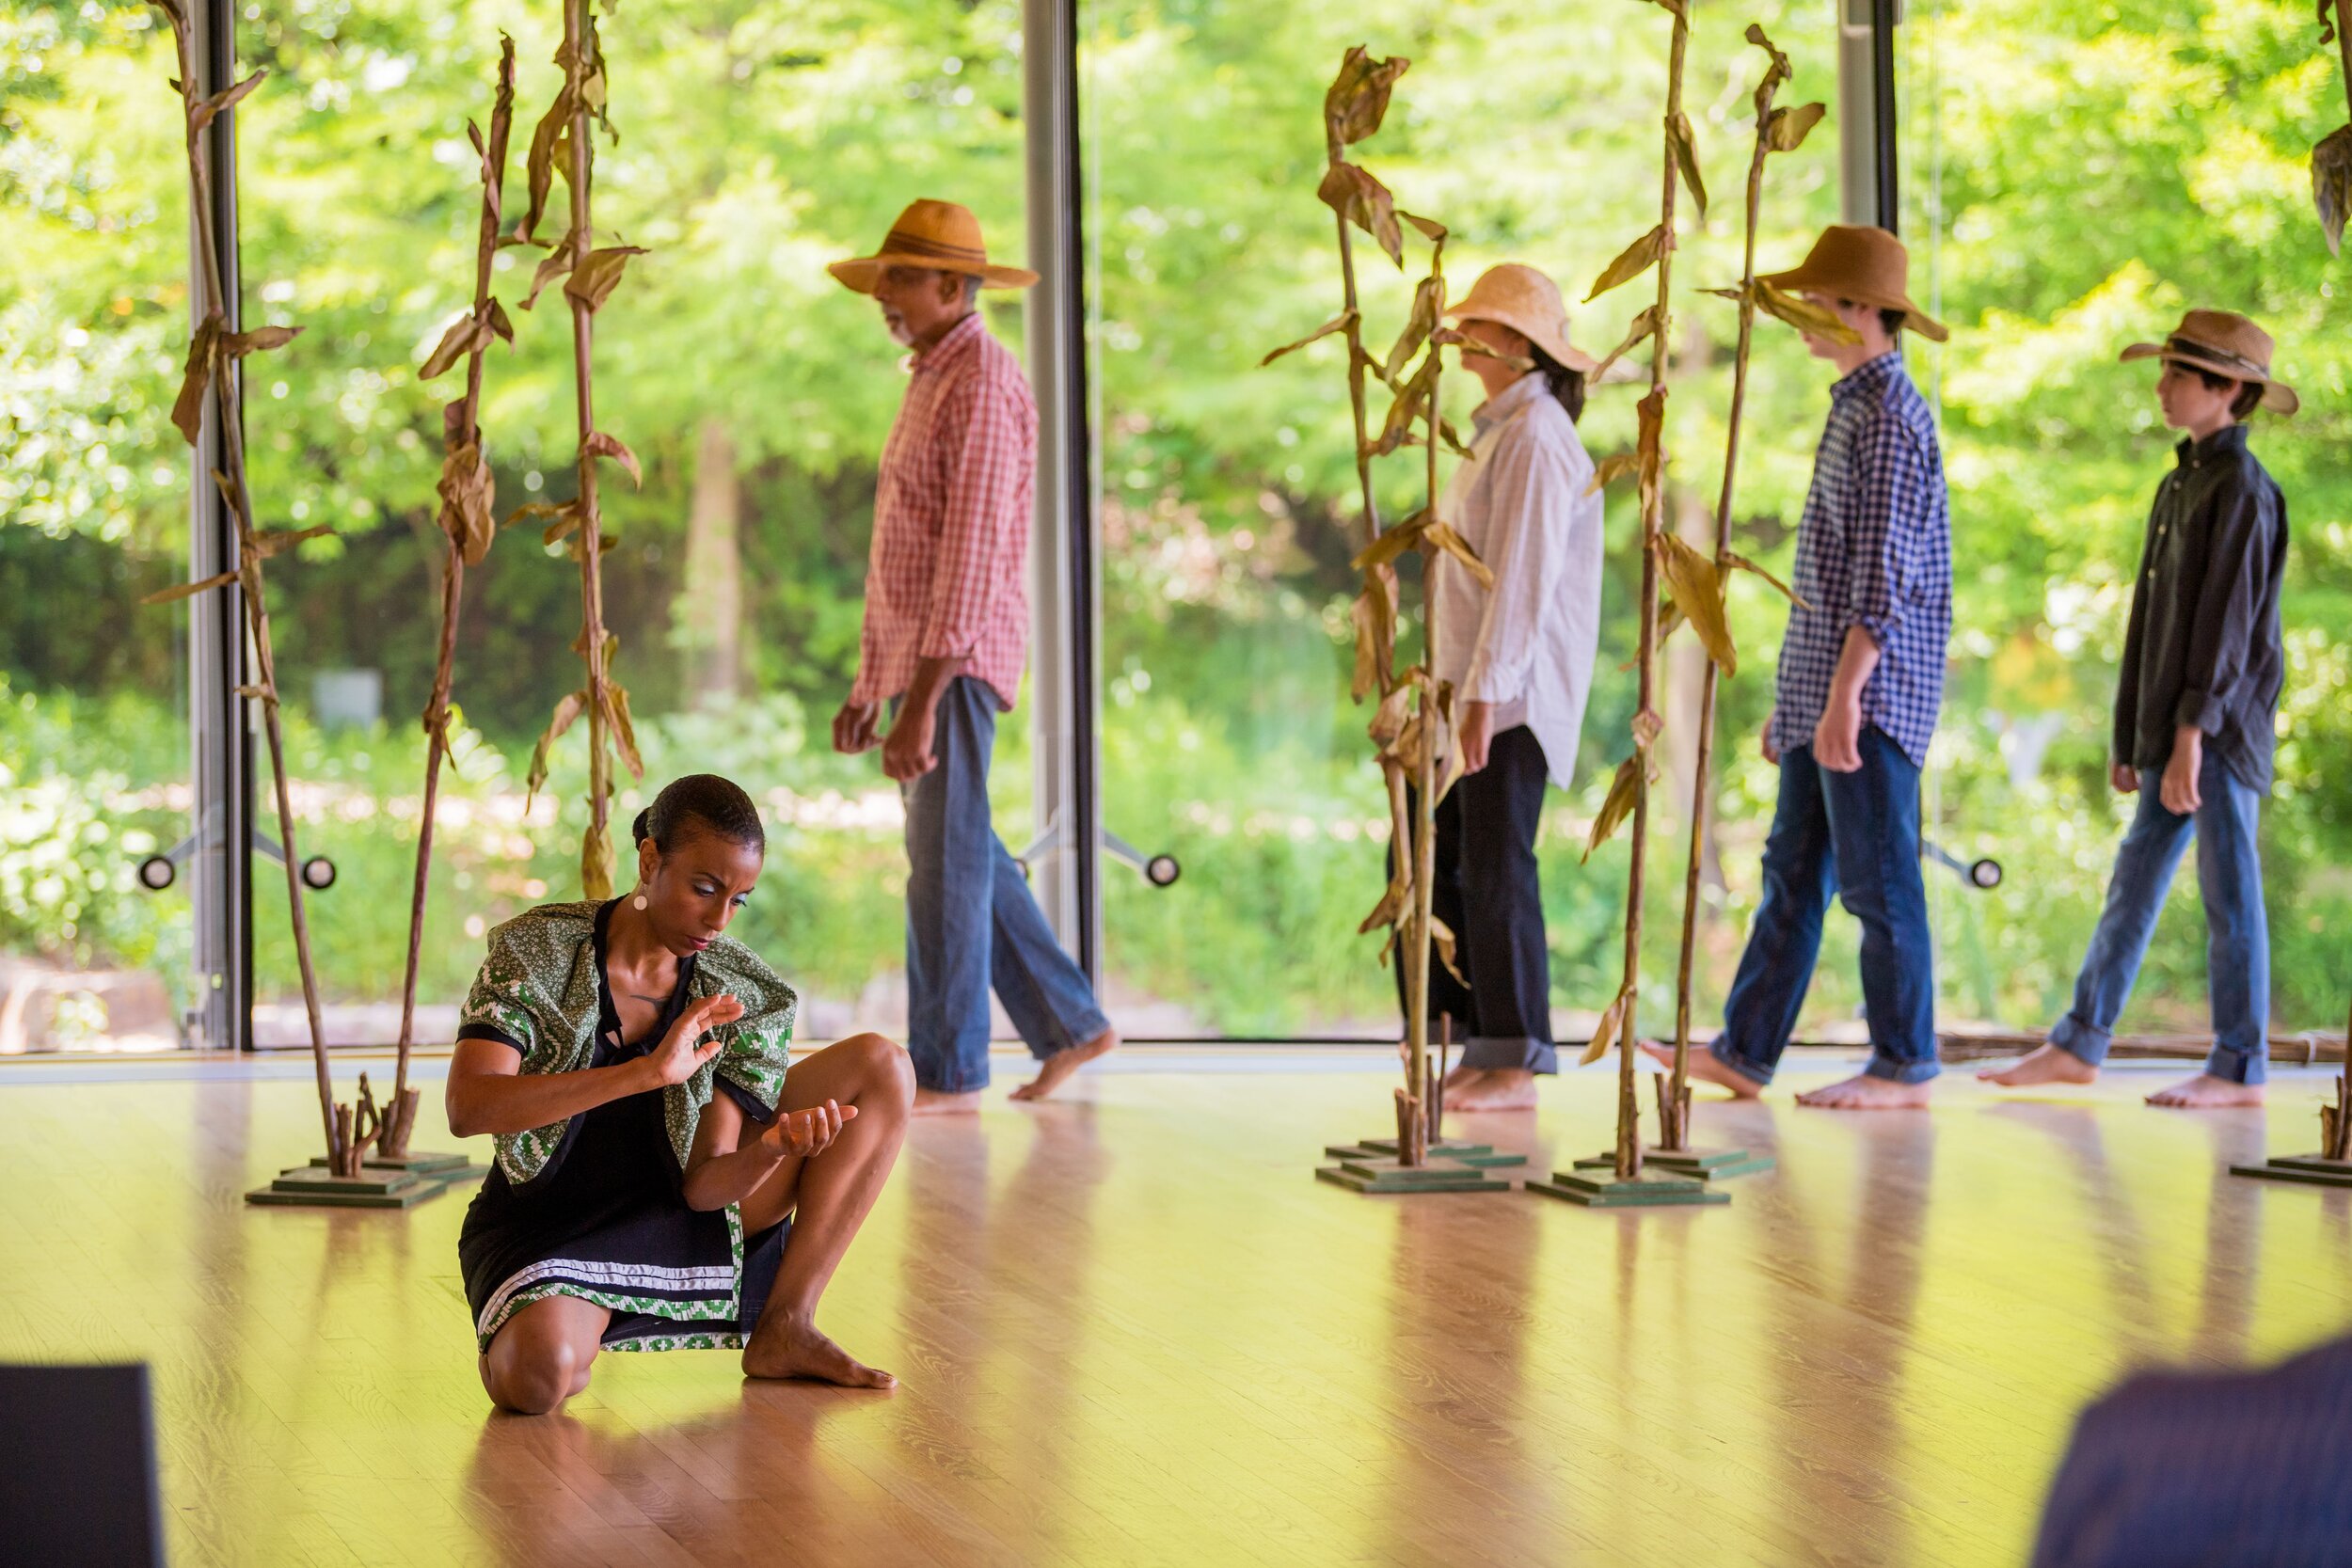
View fullsize
Photo courtesy of Crystal Bridges Museum of Art
View fullsize
Photo courtesy of Crystal Bridges Museum of Art
View fullsize
Photo courtesy of Crystal Bridges Museum of Art
View fullsize
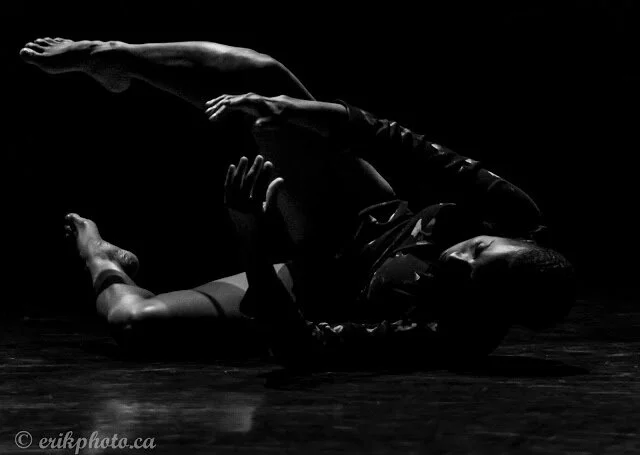
Photo by Erik Zennstrom
View fullsize
Photo by Erik Zennstrom
View fullsize
Photo by Mikal Shapiro
View fullsize
Photo by Erik Zennstrom
View fullsize
Photo by Erik Zennstrom
View fullsize
Photo courtesy of MAV
View fullsize
Photo by Jason Jenkins
View fullsize
Photo courtesy of MAV
View fullsize
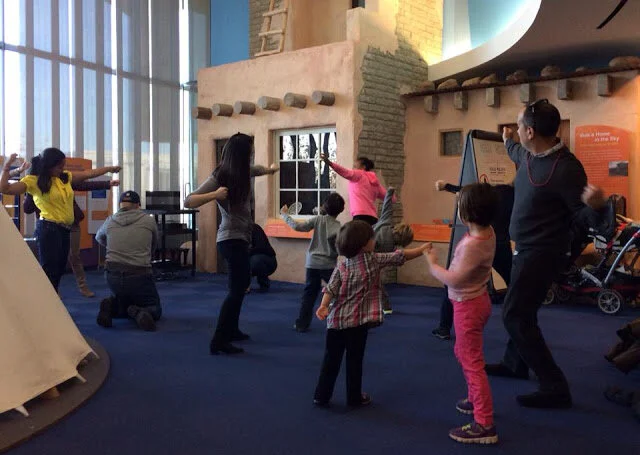
Photo by the Smithsonian NMAI
View fullsize
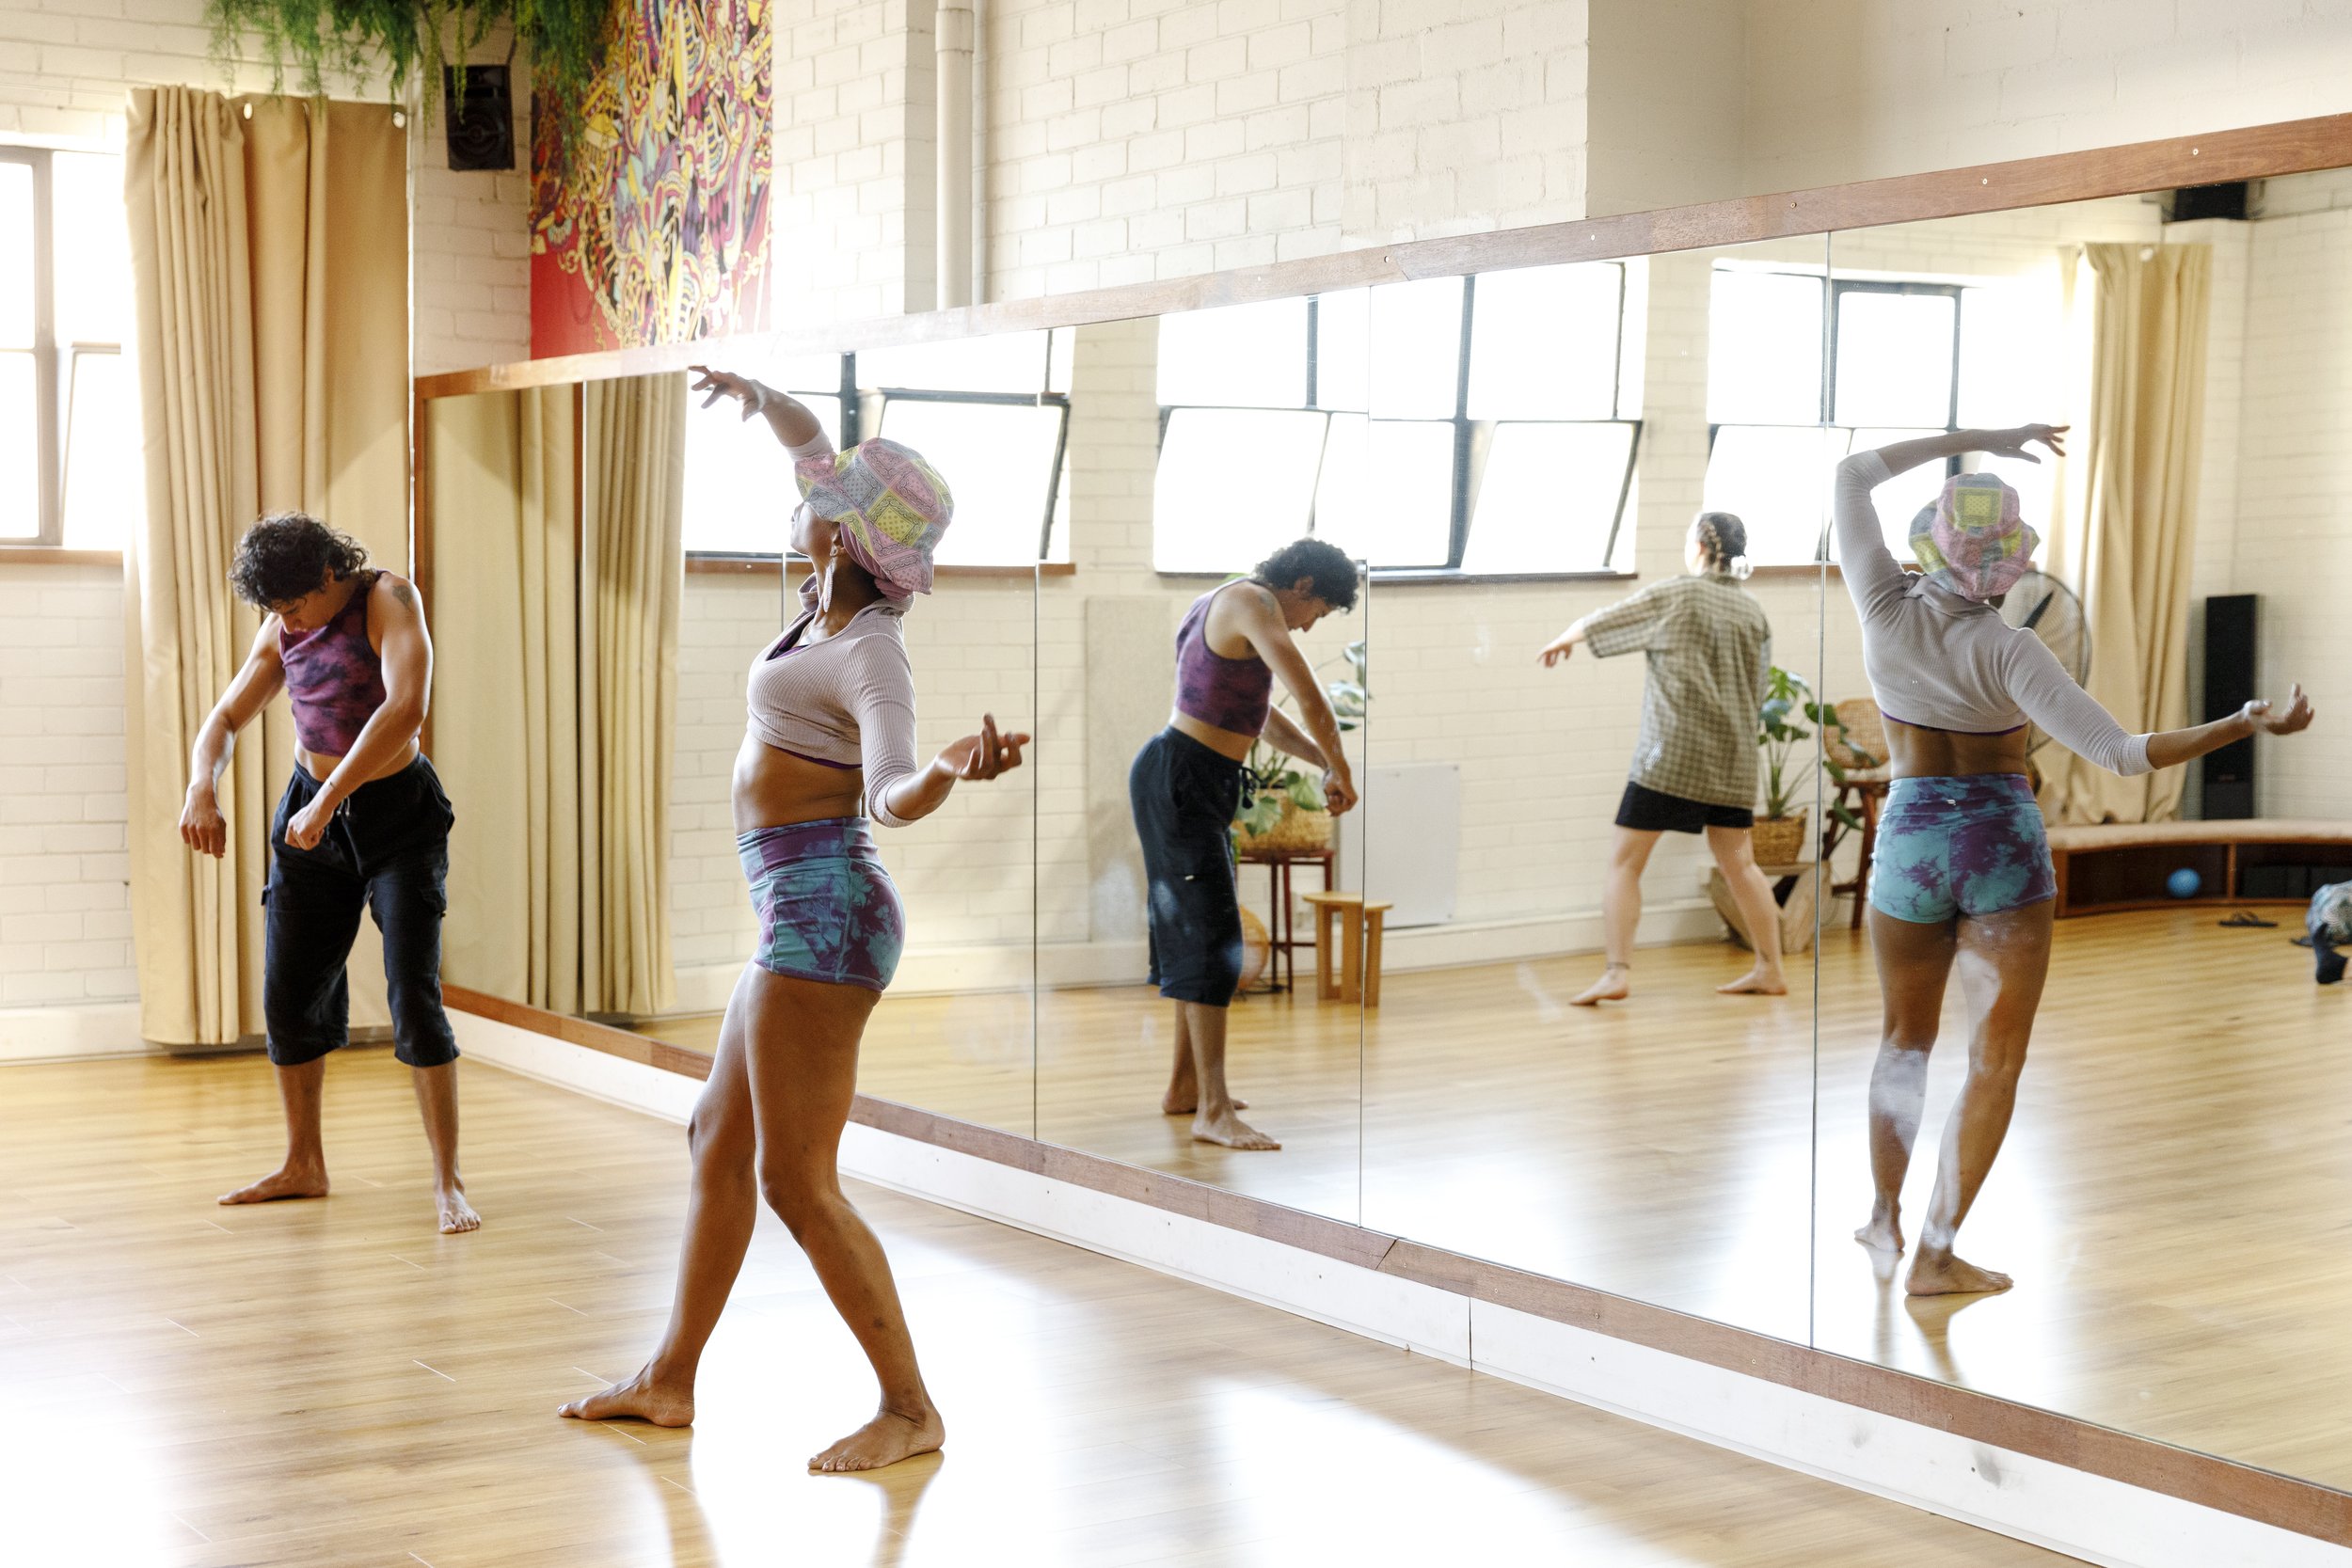
Photo by Lydia See
View fullsize
WIND Project
View fullsize
Photo by Lydia See
View fullsize
Photo by Mike Strong
View fullsize
Photo courtesy of YLDE
View fullsize
View fullsize
Photo courtesy of YLDE
View fullsize
View fullsize
Photo by Kalogenic
View fullsize
Photo by James Pakootas
View fullsize
Photo by Kalogenic
View fullsize
Photo by James Pakootas
View fullsize
Photo by Graham Carroll
View fullsize
Photo by Graham Carroll
View fullsize
Photo by Graham Carroll
View fullsize
Photo by Mark Garcia
View fullsize
Photo by Jeremy Lawson, Elisa Harkin's show
View fullsize
Photo by Jeremy Lawson, Elisa Harkin's show
View fullsize
Photo by Jeremy Lawson, Elisa Harkin's show
View fullsize
Photo by Jeremy Lawson, Elisa Harkin's show
View fullsize
Photo by Marina Lotus
View fullsize
Photo by Maura García
View fullsize
Photo by Marina Lotus
View fullsize
Photo by Marina Lotus